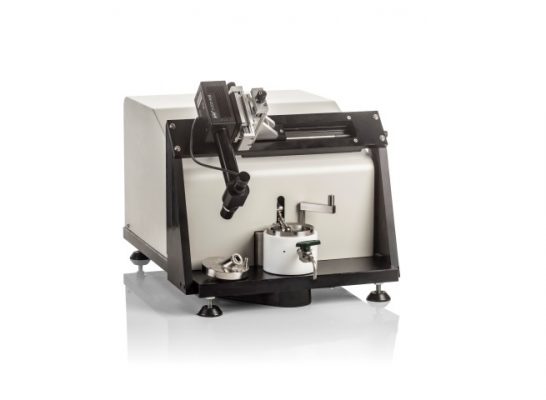
MTM 3D-SLIM Option: Film Thickness Measurement
The 3D spacer layer imaging (3D-SLIM) option uses optical interferometry to measure sub-micron additive films on the specimens as they form during the test. To make the measurement the steel test ball is loaded against a glass disc coated with a chromium and silica layer. The contact is illuminated by a white light source directed down a microscope and through the glass disc.
Part of the light is reflected from the chrome layer on the disc and part travels through the silica layer and any additive film and is reflected back from the steel ball. The recombining light paths form an interference image which is focused onto the imager of a high resolution RGB camera. The camera image is captured by a digital frame grabber and can be analysed by the control software to determine a film thickness map of the contact.
To perform the test the steel ball is loaded against the steel disc and run under mixed sliding/rolling conditions for a fixed duration. Periodically throughout the test, the ball is stopped, loaded in reverse against the glass disc and a film thickness map of the complete contact area is taken. This allows film thickness measurements to be taken of any reaction films as they form. When used in tandem with the friction measurement, this provides a full, real time picture of both the chemical and physical effects of the films formed in the contact.
Please see the link below for more details:


